Are you tired of giving the same generic gifts year after year? Do you want to show your loved ones just how much you care by giving them something truly unique? Well, have no fear, because we are here to teach you the art of creating customized gifts! In this detailed DIY tutorial, we will break down the process step by step, so you can unleash your inner crafting genius and wow your friends and family with personalized presents that will make them say, “I didn’t know you were so crafty!” So grab your glue gun and let’s get started on a gift-giving journey unlike any other!
Contents
- 1 Choosing the Perfect Gift Recipient
- 2 Selecting Meaningful Personalization Items
- 3 Planning the Design and Layout
- 4 Gathering Necessary Materials and Tools
- 5 Executing the Customization Process
- 6 Adding Finishing Touches and Presentation
- 7 Wrapping and Presenting the Customized Gift
- 8 FAQs
- 9 In conclusion, go forth and get crafty!
Choosing the Perfect Gift Recipient
So, you’ve decided to be generous and gift someone special in your life. But how do you choose the perfect recipient for your awesome gift? Well, fear not, dear reader, for I am here to guide you through this perilous decision-making process!
First things first, think about what kind of gift you want to give. Is it something sentimental, practical, fun, or downright quirky? Once you have a general idea of the type of gift you want to give, it will be easier to narrow down your list of potential recipients.
Next, consider the personality and interests of the people in your life. Who would appreciate your gift the most? Who would get the most use out of it? Who would be the most surprised and delighted by your thoughtfulness? These are important questions to ask yourself before making your final decision.
Remember, the key to is to think outside the box. Don’t just go for the obvious choice – be bold, be daring, be unexpected! Who knows, your gift might just bring a smile to someone’s face and make their day a little brighter.

Selecting Meaningful Personalization Items
When it comes to selecting meaningful personalization items, you want to choose things that truly represent who you are. Sure, you could go for the standard monogrammed keychain or generic photo frame, but where’s the fun in that? Let’s get a little more creative, shall we?
Think outside the box when choosing your personalization items. Consider items that really speak to your personality and interests. Whether it’s a quirky coffee mug with a funny saying, a custom-made piece of jewelry that reflects your favorite hobby, or a personalized phone case featuring your pet’s adorable face, the possibilities are endless!
Personalization doesn’t have to be limited to physical items either. Why not personalize your daily routine with a custom playlist that perfectly encapsulates your mood or create a signature scent that is uniquely you? Remember, it’s all about infusing your personality into every aspect of your life!
Ultimately, the key to is to choose things that make you smile and bring a little extra joy to your day. So go ahead, get creative and have fun with it. After all, life is too short for boring, generic personalization!
Planning the Design and Layout
When it comes to of your project, there are a few key things to keep in mind. First and foremost, consider the purpose of your design – is it to inform, entertain, or just look pretty? Once you’ve got that figured out, it’s time to start brainstorming ideas. Grab a pen and paper and let your creativity flow!
Next, think about who your audience is and what they will find most appealing. Are you designing for tech-savvy millennials or hip grandparents? Knowing your audience will help you tailor your design to suit their tastes. Remember, you want to create something that they will love and that will be easy for them to navigate.
Now, onto the layout. This is where the magic happens! Consider using a grid system to keep everything orderly and make sure your design is visually appealing. Don’t be afraid to play around with different fonts, colors, and styles – this is your chance to let your creativity shine. And remember, white space is your friend! Don’t overcrowd your design with too much text or images – let it breathe. So get planning, and before you know it, you’ll have a design that’ll knock their socks off!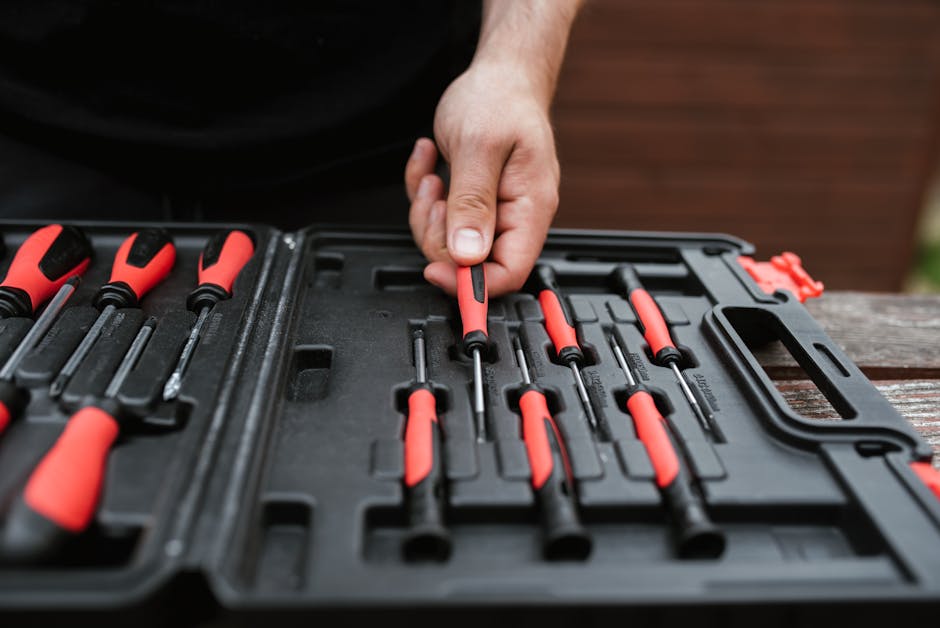
Gathering Necessary Materials and Tools
Now that you’ve decided to take on a new project, it’s time to gather all the necessary materials and tools to get started. First things first, you’ll need to make a list of everything you need so you don’t end up running back and forth to the store like a chicken with its head cut off.
**Materials**:
– Don’t be a hoarder, but make sure you have enough of each material to complete your project without having to make multiple trips. There’s nothing worse than getting into a groove and running out of something like paint or yarn halfway through.
– Check your local craft store for the best deals on supplies, or raid your grandma’s attic for that vintage lace trim you’ve been eyeing for months.
**Tools**:
– Make sure you have all the necessary tools at your disposal. From paintbrushes to power drills, having the right tools for the job will make your life a whole lot easier.
– If you’re low on funds, get creative with what you have. Who needs a fancy wood burning kit when you have a magnifying glass and the power of the sun?
So pull out that dusty toolbox and get ready to get your hands dirty. With the right materials and tools in hand, there’s no project too big or too small for you to tackle. Now go forth and create something amazing!
Executing the Customization Process
So, you’ve made the bold decision to embark on the treacherous journey known as the customization process. Before you start hyperventilating into a paper bag, take a deep breath and follow these steps to ensure your survival:
First things first, gather your supplies like a seasoned warrior gearing up for battle. This includes a trusty laptop, copious amounts of caffeine, and a sacrificial goat for good luck. Just kidding about the goat, but hey, whatever floats your customization boat!
Next, summon your inner coding wizard and dive headfirst into the abyss of HTML and CSS. Dance your fingers across the keyboard like a mad scientist conducting a symphony of code. Embrace the chaos and revel in the thrill of creating something uniquely yours.
As you navigate the murky waters of customization, remember that Rome wasn’t built in a day. Take breaks, hydrate, and don’t forget to sacrifice a Snickers bar to the coding gods when frustration threatens to consume you. Before you know it, you’ll emerge victorious, with a website that’s the envy of all who dare to tread in your customization footsteps.
Adding Finishing Touches and Presentation
As you put the final touches on your masterpiece, it’s important to pay attention to the presentation. After all, you don’t want your hard work to go unnoticed! Here are some tips on how to add those finishing touches that will make your creation truly shine.
First, consider the power of garnishes. Just like a sprig of parsley can elevate a boring dish, the right garnish can take your project from good to great. Whether it’s a sprinkle of glitter, a dollop of whipped cream, or a swirl of chocolate sauce, a well-placed garnish can make all the difference.
Next, think about the power of presentation. How you present your project can make a big impact on how it is perceived. Consider serving it on a fancy platter or arranging it on a decorative plate. Remember, presentation is key!
And finally, don’t forget about the importance of style. A well-styled project will always stand out from the crowd. Play around with different fonts, colors, and layouts to find the perfect combination that will make your creation pop. Remember, it’s all about the details!
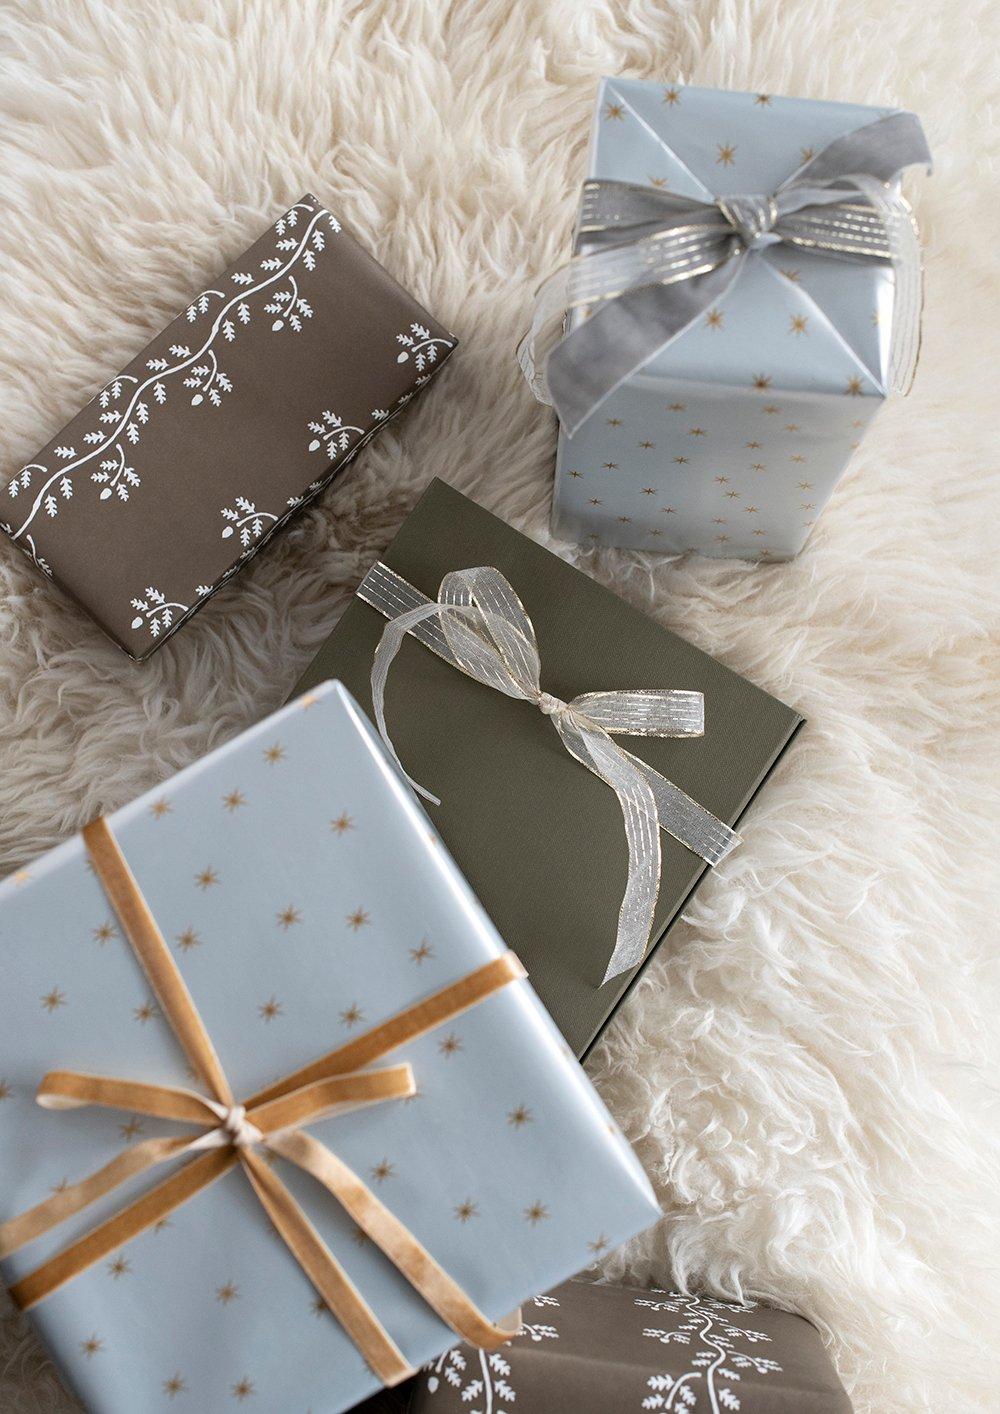
Wrapping and Presenting the Customized Gift
So you’ve finally put together the perfect customized gift for your loved one. Now it’s time to wrap it up in style and present it in a way that will make them say “Wow!”
First things first, gather all your wrapping supplies. You’ll need:
- Colorful wrapping paper
- Ribbon and bows
- Gift tags
- Scissors
- Tape
Now, let’s get creative with the wrapping! Think outside the box (literally) and try using unconventional items like newspaper, fabric scraps, or even old maps to wrap your gift. The more unexpected, the better!
Once your gift is wrapped, it’s time to add the finishing touches. Don’t forget to write a heartfelt message on the gift tag and top it off with a big, bold bow. Presentation is key, so consider adding some glitter or confetti for that extra sprinkle of magic.
FAQs
What supplies do I need to create customized gifts?
Well, my crafty friend, you’ll need some basic essentials like blank canvases, acrylic paints, paintbrushes, stencils, markers, and of course, your imagination!
How can I personalize a gift for someone special?
Oh, the possibilities are endless! You can add their name, favorite quote, or inside joke to the gift. Get creative and customize it to reflect their personality and interests!
Do I need to have any artistic skills to make personalized gifts?
Who needs skills when you have creativity, right? Just embrace your inner Picasso and dive into the world of DIY crafts. Remember, imperfections add character!
Can I create customized gifts for any occasion?
Absolutely! Whether it’s a birthday, holidays, or just a random act of kindness, customized gifts are perfect for any occasion. Just tailor your gift to suit the event and the recipient!
How can I ensure that my customized gift will be well-received?
Well, my friend, it’s all about the thought and effort you put into the gift. Make it personal, heartfelt, and unique to the recipient. They’ll surely appreciate the time and love you’ve invested in creating something special just for them!
In conclusion, go forth and get crafty!
Whether you’re personalizing a mug for your coffee-loving friend or creating a custom photo album for your significant other, the possibilities are endless when it comes to DIY gifts. So grab your glue gun, unleash your inner artist, and start creating some unforgettable gifts that will be cherished for years to come. After all, who needs store-bought presents when you can give a gift made with love (and a little bit of glitter)? Happy crafting!